Top Tips for Photographing Food.
All food images can be done in the LTF HOME KITCHEN STUDIO, we offer kitchen rental at affordable prices .
Words & Images : Lakshmi Harilela
check out full portfolio at www.lovetruelight.com
Capturing that true moment can be ‘tricky’ if you don’t know the tricks of the trade. Food photography need not be tricky, once you know the general rules that govern beautiful picture taking. When photographing food, always remember how you want to portray the food. Do you want to show the dish as a whole, or would you like to create some kind of mysterious quality about the dish. All of these are considerations.
Tip 1: perspective. In the case where you would like to literally show the whole dish, a bird's eye view works well; items such as dim sum look great from a bird’s eye view, so see what works best. Foods like steak don’t, as the thickness is lost in the bird’s eye view, so really decipher that works best.
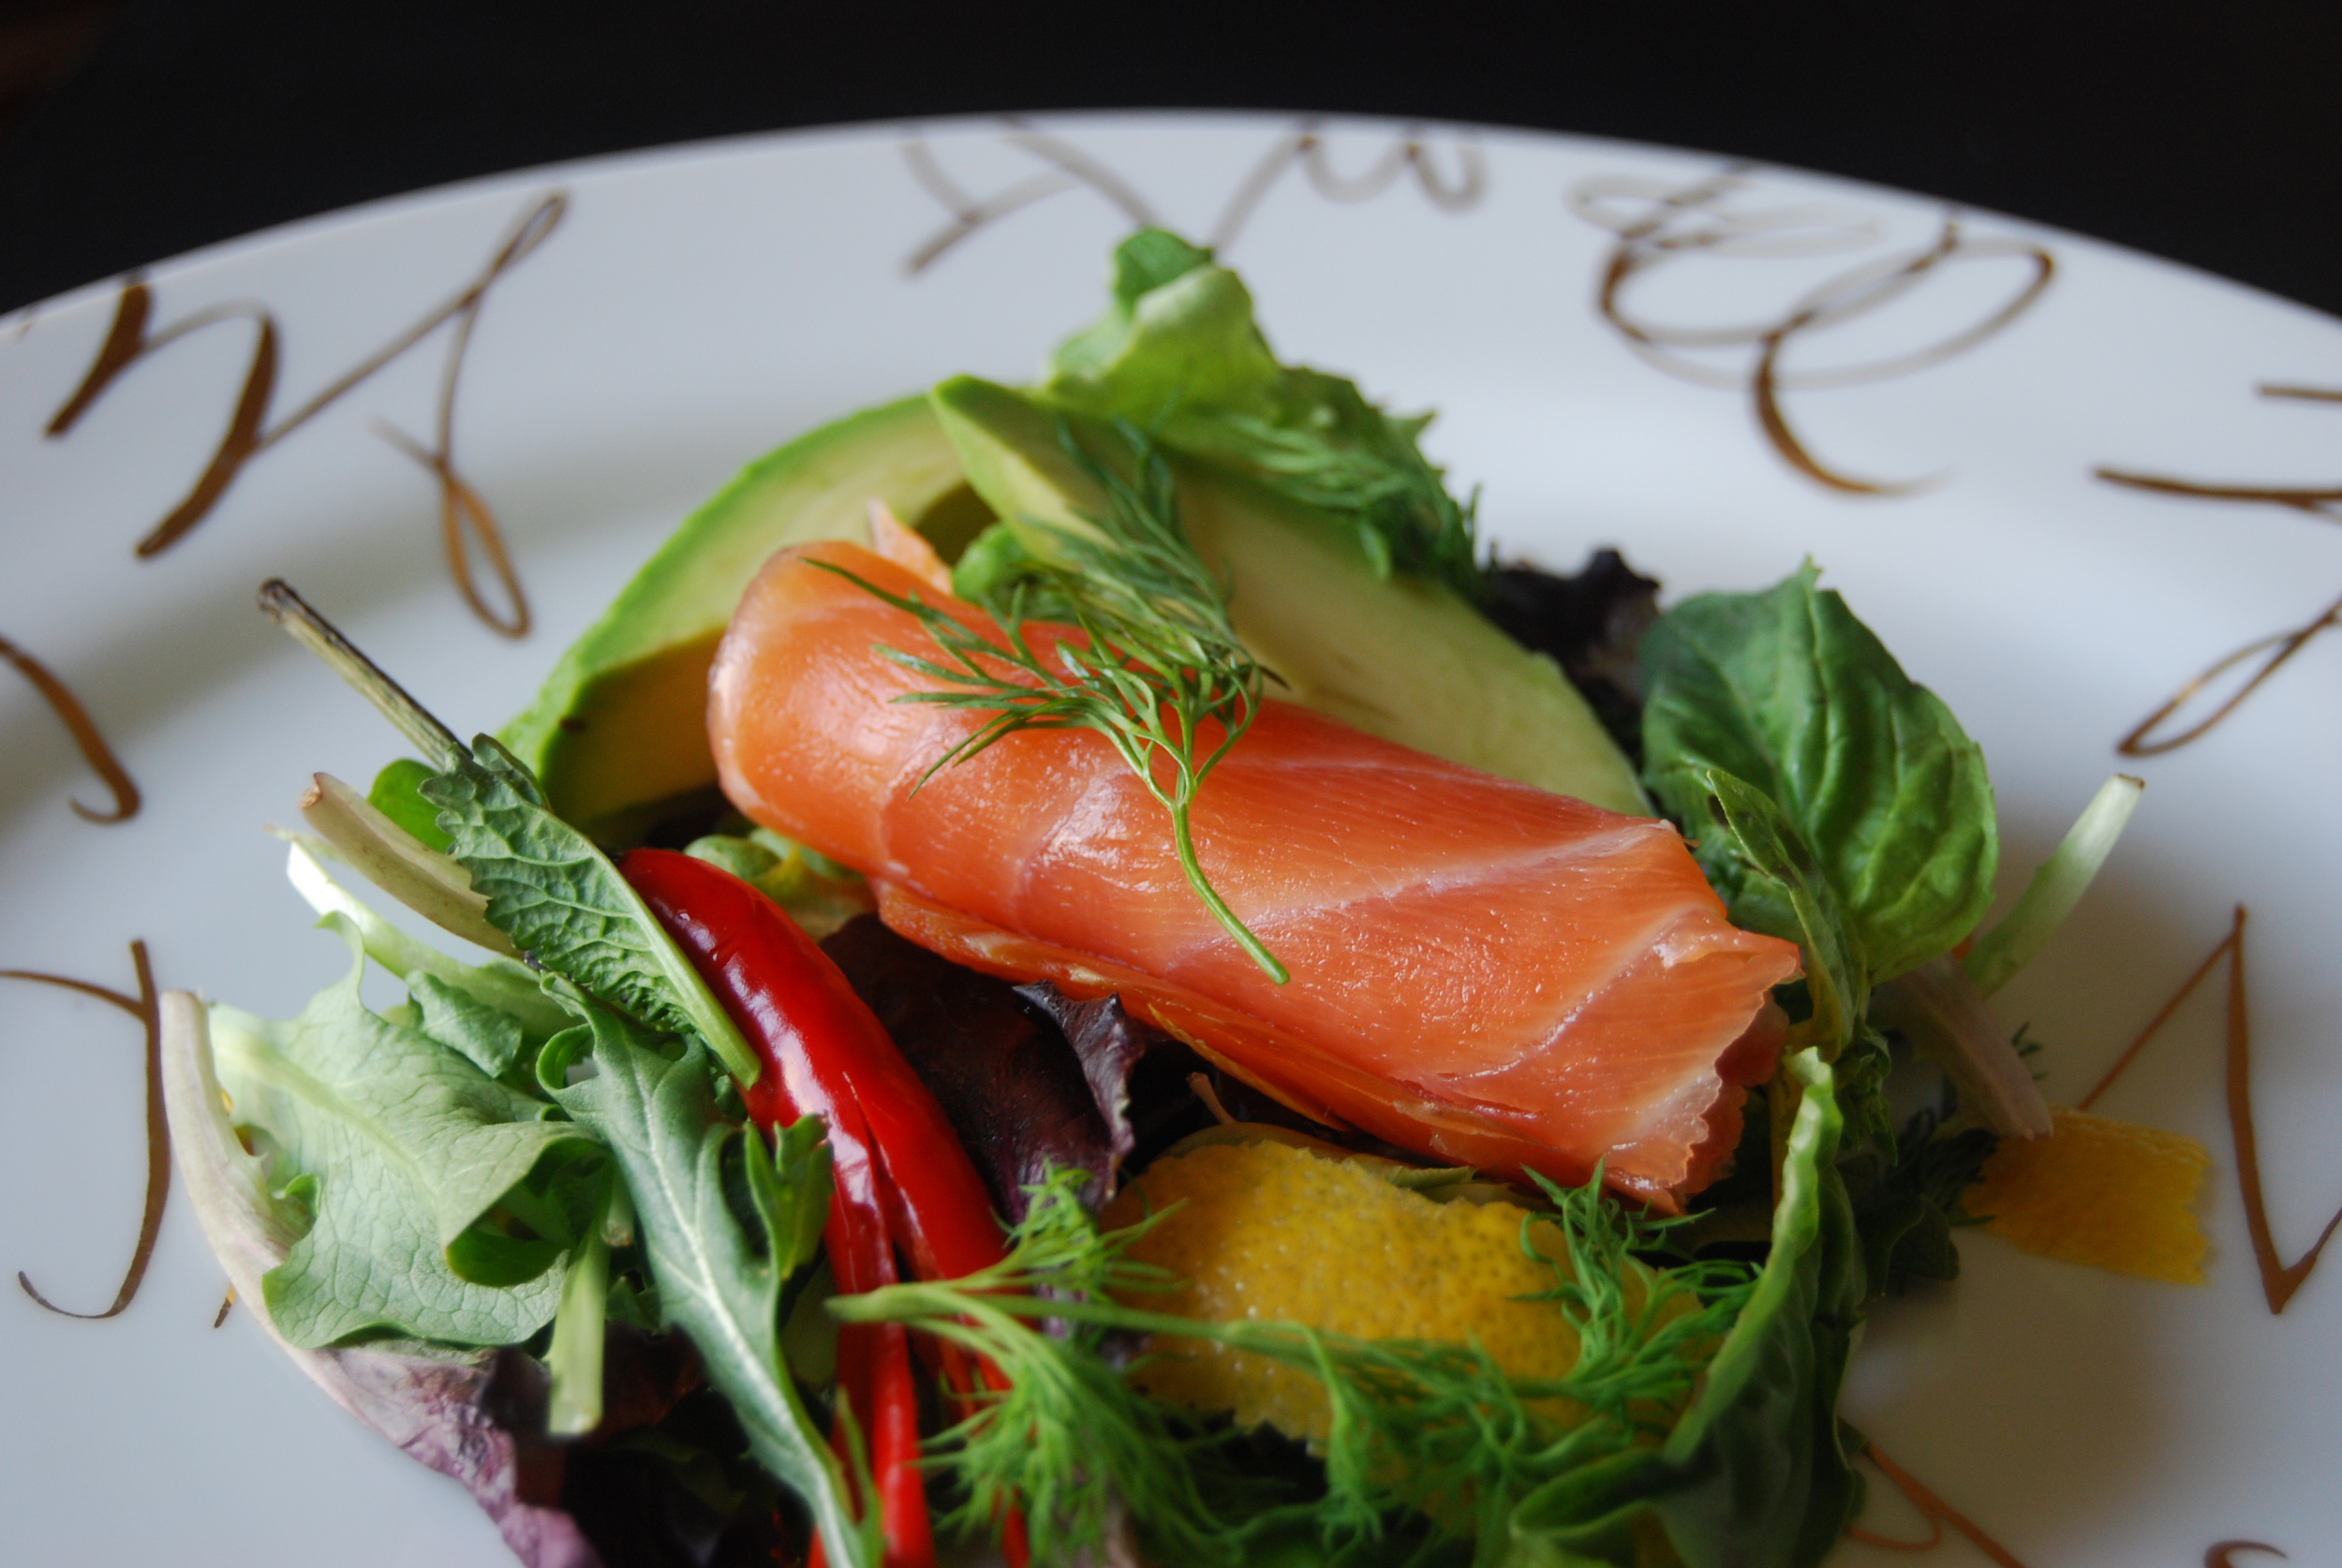
Tip 2: get low. True food photography is based on getting in really close to the food, and blurring out the unnecessary parts. This usually means taking the shot from a lower perspective than normal. Getting low down enhances the depth and shapes extremely well. You may find it helpful to go down to the height of the table, placing the camera on the table and shooting from there.
Tip 3: crop. Another great tip is to cut out the riff raff. When shooting any type of food, it is important to get those raw elements up close and personal and avoiding a busy background. This is sometimes referred to as ‘cropping.’ When you zoom right into the food, there is less distracting visual elements and so the textures and qualities of the dish are being represented adequately.
Tip 4: backlighting. When food is lit from behind, it gives off a natural, rustic vibe. It always enhances certain details that would otherwise be lost. So if you have the source of light, use it, you will be amazed by the effect it brings on.
Tip 5: shallow depth of field. As mentioned earlier, blurring out distractions is a very important part of food photography, this is what is termed as a shallow depth of field. Using a shallow depth of field usually gives off that 'something something'. If your camera has a macro mode, use it for food photography. However, if the purpose of your image is to capture the full scope of what's on the table, then blurring out other dishes would not be optimal. So really decide what the purpose of your picture is, this will determine whether or not to use a shallow depth of field.
Tip 6: steady hands. One of the most important tips of all is steadying your hand. With a steady hand, comes sharp, focused images that can make a world of difference to the viewer. So keep that hand steady and shoot away.
Tip 7: avoid direct flash and utilize slow shutter speed. Images usually look much better without flash placed directly on the camera, and with most dslr’s or pocket cameras, the flash is located on the top of the camera itself. This is why it is better to eliminate the use of flash and use available lighting and a slower shutter speed.
Tip 8: adjust white balance. Adjusting the white balance on your camera can make a world of difference to the image. Usually indoor restaurants use tungsten bulbs, which can make food images look a little too yellow. So adjusting the white balance to either 5000 k or daylight balance can maintain a natural look and feel to the image.
When using an iPhone or camera phone, the same rules apply. Just make sure that you familiarize yourself with all the settings before shooting.